Wednesday, April 11, 2012

Spring is Here!

Phew, long week. And *happy dance* spring FINALLY feels like it has arrived in the Pacific Northwest! Now unfortunately spring doesn't equate to me getting projects done...apparently my winter hibernation gave me more motivation. That's not to say exciting things haven't been happening in our little house hold.

For one, I'm finding out what our yard holds!


One downside of moving in at the beginning of fall is that most of the plants we have in our yard were starting to close up shop for the winter. The trees and decorative grasses were still beautiful but obviously none of the spring flowers. So the last week or so has been a wonderful discovery of the flowers in our yard!

Try and find the daffodil!
Which of course means yard work. One thing I swore up and down I would never do, Michael wanted the yard he could take care of it. I was perfectly fine living in my townhouse never ever having to pull a weed again. Don't get me wrong, I love nature, I love the beauty of it and the homey feel it gives me. But weeding. Loathsome.

Our front yard when we moved in in September 2011
Until now...(mother cover your eyes!) curse my mother being right. Yet again. I'm actually taking pride in our yard. We did have the luxury of moving into our house and the yard was beautifully landscaped already so the two brown thumbs that Michael and I are didn't have to actually put any effort into creating our yard. We do however have to maintain it. But last week I came home and with Molly out in the yard voluntarily started weeding. What is happening to me?!

Whatever it is, I can't say that I like it one bit!

Sunday was Easter, my family isn't exactly in any realm religious but we do enjoy the excuse to get together for holidays. And guess what? It was my first time hosting the family get together! Yay! Granted it was a minor one, not Thanksgiving or anything but I thoroughly enjoyed it.  It helped that it was a completely gorgeous day out so we spent most of our time in the back yard. (Stay tuned later today or tomorrow for my Easter Brunch Menu).

How are you making the most of the first weeks of spring? Do anything exciting and new for Easter? 


Monday, April 2, 2012

File Away!

This post is years in the making. Years people.

Literally purchased this beauty in 2010 when we first moved in together for our files.


 Before this I had been living out of a plastic file box and it was more than holding it's share ie: could no longer fit any more papers in it and the overflow was in an unorganized plastic bag. Real classy.

So karma stepped in and as I resolved to find a file cabinet the first posting on CraigsList's For Sale items was a wood file cabinet for $15. $15!!! Do you know how expensive solid wood file cabinets are? Amazing.


Of course it's a oak (right?) and I'm much more drawn to the darker woods so I picked up a quart of paint in a darker brown color. The reason I did paint instead of stain is cause I'm lazy. Yep, I didn't want to do all the sanding necessary to stain it even though really it wouldn't have been that much at all. Keep in mind this is pretty much the first DIY project I was planning on doing and I didn't think to search the internet for tips and how-to's. My bad.


Our first dwelling was a town home. Loved it but in no way easy for painting projects. Our second place was a rental home. Easy for painting projects, this is where the lazy kicked in. And finally our house where in wanting to put as much together as possible I took advantage of a weekend when Michael was out of town and did it. Quite proud of myself.

After I washed it down I started with sanding, just a light sanding with basic 100 grit sand paper. Really I just needed a light rough up of the wood, there was no previous stain or paint on the cabinet.


Mixed the paint and went for it! I liked the color in the can, I wanted something dark and rich. But when I put it on the cabinet and stepped back, not so much. Maybe it was because I'm on this color with life in it kick but the brown on the cabinet just seemed so blah, flat and lifeless. The opposite of the rich color I was going for. Bummer.


I did two coats, one Saturday and one Sunday. Hoping I would like the two coats better, that it might dry richer or deeper. All I want a thoughtful paint, one with feelings and emotions! Is that too much to ask!?

HA!


I'd say this one depicts the color best. Just not really feeling it. So on advice from all knowing friends and the guy I waited to fully hate it until I got the pull handles on and it into the room.

Now the handles, I thought they would be the easy part. I took an idea from John and Sherry on YoungHouseLove on how to indicate where the holes should be and it didn't exactly work out in my favor.


You tape on the back of the handles and indicate where the hole should be. Yeah didn't exactly work out for me, something slipped in the process cause the holes were not aligned. So drilled out with a larger bit to give myself some more wiggle room. The second drawer Michael was my savior and actually measured and got precisely where the holes should be made.

The other complication is that the drawer was quite wide, too wide for the screw provided with the handles.


So I took a 3/4" spade bit and drilled an indent so the screw would be long enough.


And the finished drawers! 


It all put together. I do like the color a bit more in the room, its growing on me I think. Not to say that I won't somehow spruce it up a bit in the future. 


Oh, and look at my brilliant painting skills!


Yeah not sure how I missed those...well I'll be touching that up in the next coming weeks. And I was so close!


Are there any projects you've been putting off for a while? Feeling like getting some spring cleaning done?

Wednesday, March 28, 2012

Chicken Parmesan, Healthy Time

Now chicken parmesan is a delicious, generally not healthy Italian meal. On a whim (found a recipe on Pinterest, had all ingredients at home and no plan for dinner) I decided to try and make it! Luckily this is a healthier version, the chicken parmesan part at least. If I hadn't served it with pasta it would have even been better.

Parmesan Chicken : Weight Watchers 2pts
Original Recipe found here


Ingredients: 
  • 1/4 cup parmesan cheese , grated
  • 2 tablespoons dried Italian seasoned breadcrumbs(or 2 tbsp bread crumbs and a pinch of Italian spice blend) 
  • 1/8 teaspoon paprika
  • 1 teaspoon dried parsley
  • 1/2 teaspoon garlic powder
  • 1/4 teaspoon fresh ground pepper
  • 2 boneless skinless chicken breasts 

 Directions:

1. Preheat oven to 400 degrees
2. In a shallow/flat bottomed bowl combine cheese, bread crumbs and seasonings; mix well


3. Dip each chicken breast into cheese mixture, making sure to coat all sides


4. Arrange on a nonstick baking sheet or pan


5. Bake for 20-25 min, until chicken is cooked through
4 points per serving  


We also served it with a salad, and  yes there were left overs! Quite quite tasty, and quite fabulous.

What's your favorite dish? To make, or to eat!

Tuesday, March 27, 2012

Mission (almost) Accomplished

Yay for the big reveal! Except its not so big since I didn't have time to hang all our pictures back up last night. Oops. Well at least you'll get to see the finished paint color and how most of our furniture looks against it.

Ready?

Set.

Go!
(please do excuse the shotty iPhone photos)

Night:


I have to say the grey looks much warmer in person.


Day:


Quite excited on how they turned out.

What colors have you always dreamed of painting a room but have been to scared to?

Monday, March 26, 2012

Color me Tickled

Painting weekend!!! Woot! This weekend we were busy busy bees. And it feels wonderful. After long last we FINALLY got the bedrooms painted. Of course it just so happened to be a beautiful spring weekend in Western Washington. Such is life.

Prep work. The worst part of painting. First I washed all the walls and trim. Gross. Unfortunately this is an important step especially if you're planning on taping off anything, the tape won't stick to the dirt/oils.

Then I spackled all the holes in the walls (the previous owners left us with some doozies). I used DAP DryDex spacke ($5.00 at Lowes) and a 3" flexible spackle knife ($6.50 at Lowes - annoying its more expensive than the spackle itself!).


It goes on pink and when its dry it turns white, kind of nice to be able to know when you're ready for the second coat. You really only need a second coat when it comes to deep holes over 1/4 inch or so.


Other than that just go for it! You want to make sure to get it as flat as possible and not much residue around the hole, get most of the spackle in the hole.  In theory you're supposed to sand it after it dries which I didn't. Kinda wish that I had but I don't think you can really notice it unless you know where to look. I also didn't texture the filled holes after painting, they're so small.

Then comes the taping. And tape we did. We used two whole rolls of 1.5 inch Scotch painters tape for all three rooms.

Looking down the hallway, first door on left is old "boys" room, second on left is "master" and at the end of the hall is the old "girls" room. Door on right is bathroom. 
We took all the doors off the hinges and taped off the trim and put plastic sheeting over it. As you can see we have pretty thick trim, which I love, but it becomes hazardous when painting.

This is in the "boys" room, it has a band of trim around the room allowing for two colors and making for a joy of prepping experience. If you haven't taped off this type of trim before its hard, the tape doesn't want to stick to it cause there isn't much of a lip/edge to stick to. Even with taping and papering off like this we still have places where paint got on it. Oops.


Here you can see the dual colors we were working with. Very masculine. Very not what I wanted. And that upper taupe/beige color, so over it.


You can see the white splotches were I spackled, this was the worst of the rooms for holes. This room is really more of an office than anything but since Michael and I both came into the relationship with futons that we're being stubborn about getting rid of we wedged his old one into this room (currently sitting diagonal).


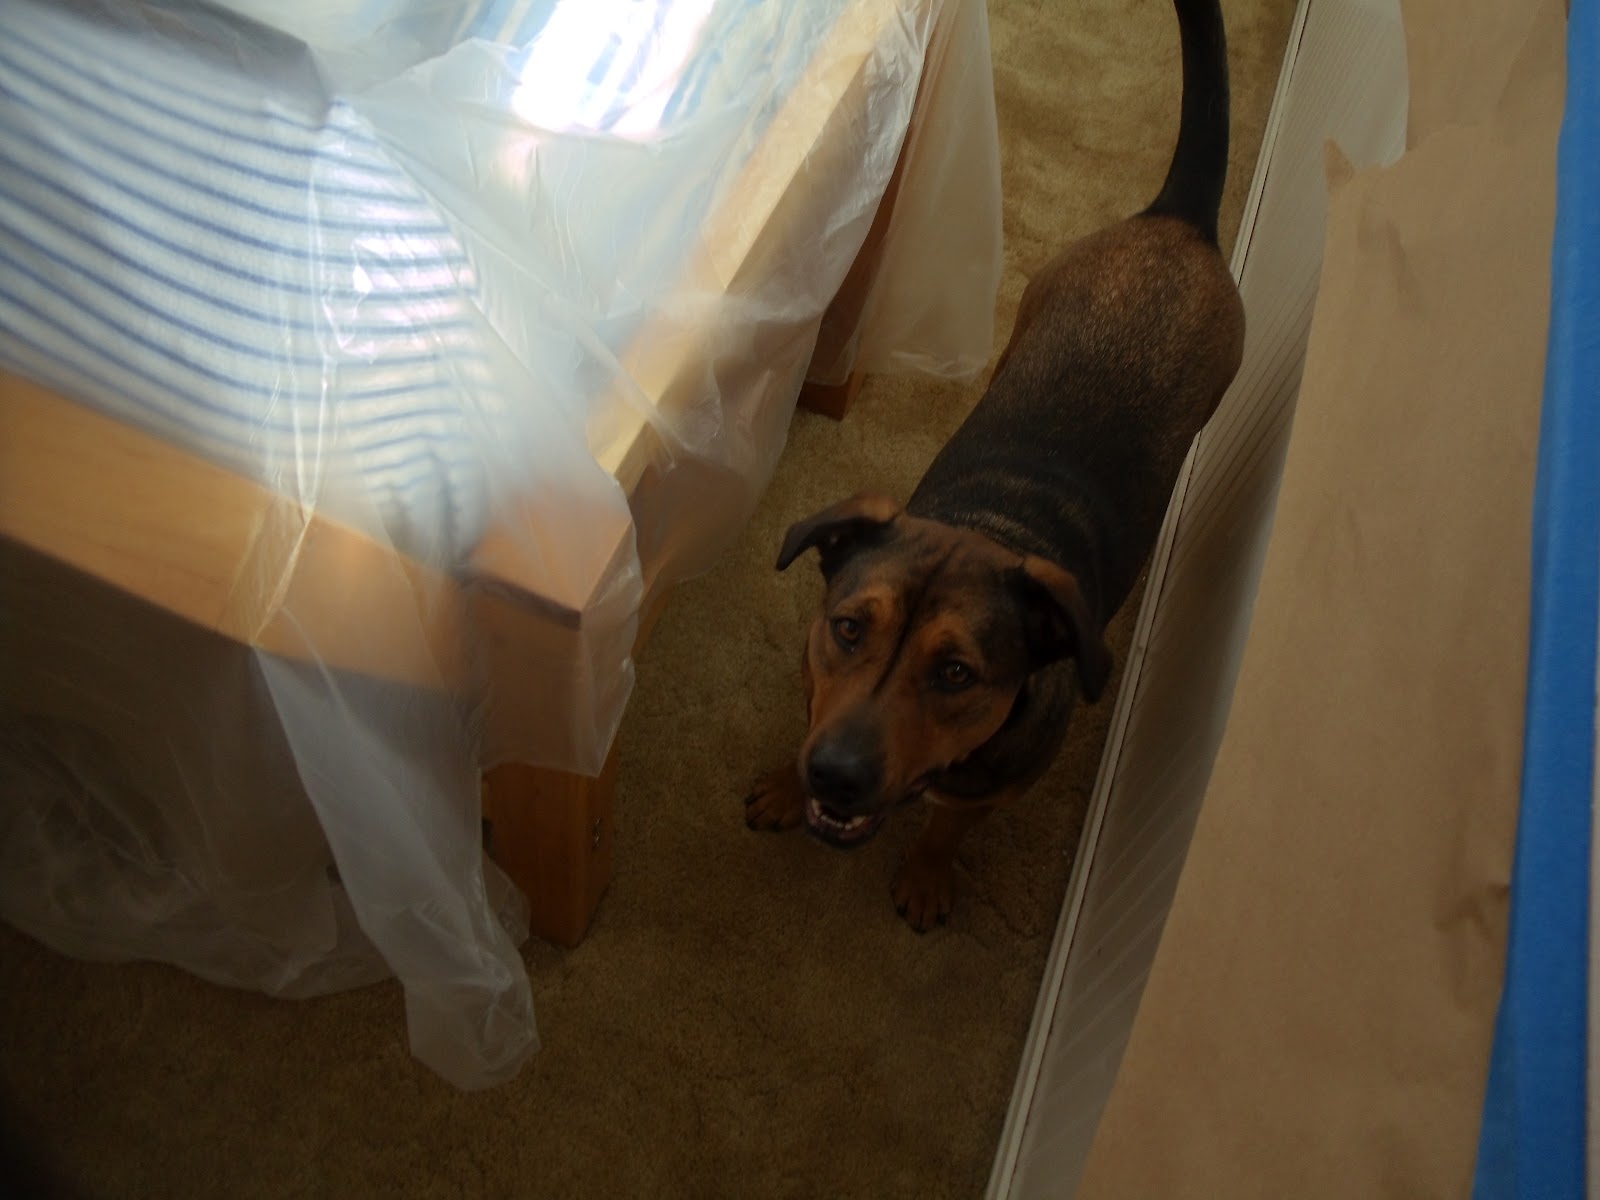
Molly helping out :-)
 Now on to the old girls room. It's pink. Now in general I'm not even a fan of pink to begin with. At all. I can take it in small doses in the right shade or application. I do in fact own one pink shirt. Pink peonies I adore. Pink rooms, not so much.


And its pink. Ugh. Anyways we loved the wainscoting, it gives the room texture and a nice touch. It doesn't help this is the room that we see every day walking down the hallway, and I don't like shutting the bedroom doors because it makes the hallway so dark. 


Please note the green swirly detailing towards the ceiling. I'd really make an awful princess.

Moving on to our room. As stated previously our room isn't much of a master room, just the larger of the rooms in the house. Sigh. Next house I'll get my master closet/bathroom! Luckily this room only needed simple taping off of the baseboards and door/window trim. 


Notice the same taupe/beige color that was in the boys room, and the hallway, and the bathroom and in the living room. I'm so tired of looking at this color, I get that it goes with everything and is neutral but goodness, it has no life to it! 


Of course we have already lived here for 6 months so we just moved everything to the center of the rooms (and shoved more out into the living room) and put layers upon layers of plastic over it. We were a little too eager to move in when we bought it so not much thinking ahead was done.

Please do take note of the size of our "master" closet. And yes it's equally divided between Michael space and mine. Girls I will take your sympathy now.

We kind of did things backwards and are planning on painting the ceiling later (if ever). To me it looks slightly dull (we're leaving the ceiling white) but I'm pretty sure Michael would kill me if I asked him to paint in this house again. Hence the "if ever".

Now I'm going to do a "big reveal" finished product post tomorrow but I'll give you a sneak peak on the colors we chose.

"Girls" room
"Master" room

The green color is decently represented in that picture, the brown/grey not so much. But you kind of get the point. The guest bedrooms were both painted the green and the master was the brown/grey. We went eggshell finish in Behr paint and primer, the green color is "Rejuvenate" and the brown/grey is "Suede Grey". There was another brown/grey we were looking at that was "Elephant Skin" that I really liked and was wanting cause the name was so awesome.

Come check out the big reveal tomorrow! Anyone see The Hunger Games this weekend? What did you think (especially those of you who read the books)?